Cosmos Needs a Backup Policy? Configure Cosmos DB Backup Policies
Someone accidentally overwrites product prices. Replication copies those changes to the other regions, so recovery needs an earlier database state. A backup policy determines which earlier states remain available and how you restore them.
Use cosmos-ctappeus in rg-cloudtrips-cosmos-test-eus, with appdb/products. If continuous backup is already enabled, check its policy and recovery window below.
Choose the Policy
| Policy | Recovery method | Use when |
|---|---|---|
| Periodic | Scheduled snapshots; request a restore through Azure support. | Recovery from a scheduled backup meets your needs. |
| Continuous | Self-service point-in-time restore within retained history. | You need to select a time just before an accidental change. |
Periodic mode offers configurable backup intervals, retention, and storage redundancy. Continuous mode offers 7-, 30-, or 35-day retention. Choose a window long enough to discover mistakes; longer retention can add storage charges, and restores are billable.
Configure Seven-Day Continuous Backup
Open cosmos-ctappeus → Point In Time Restore. Check Backup policy mode. If it is Periodic, select Change → Continuous (7 days) → Save and wait for migration to finish. The switch to continuous mode is permanent.
If continuous backup is already active, keep Continuous (7 days) for this lab. Use Change only if you need to adjust the tier; shortening retention immediately removes access to recovery points outside the new window.
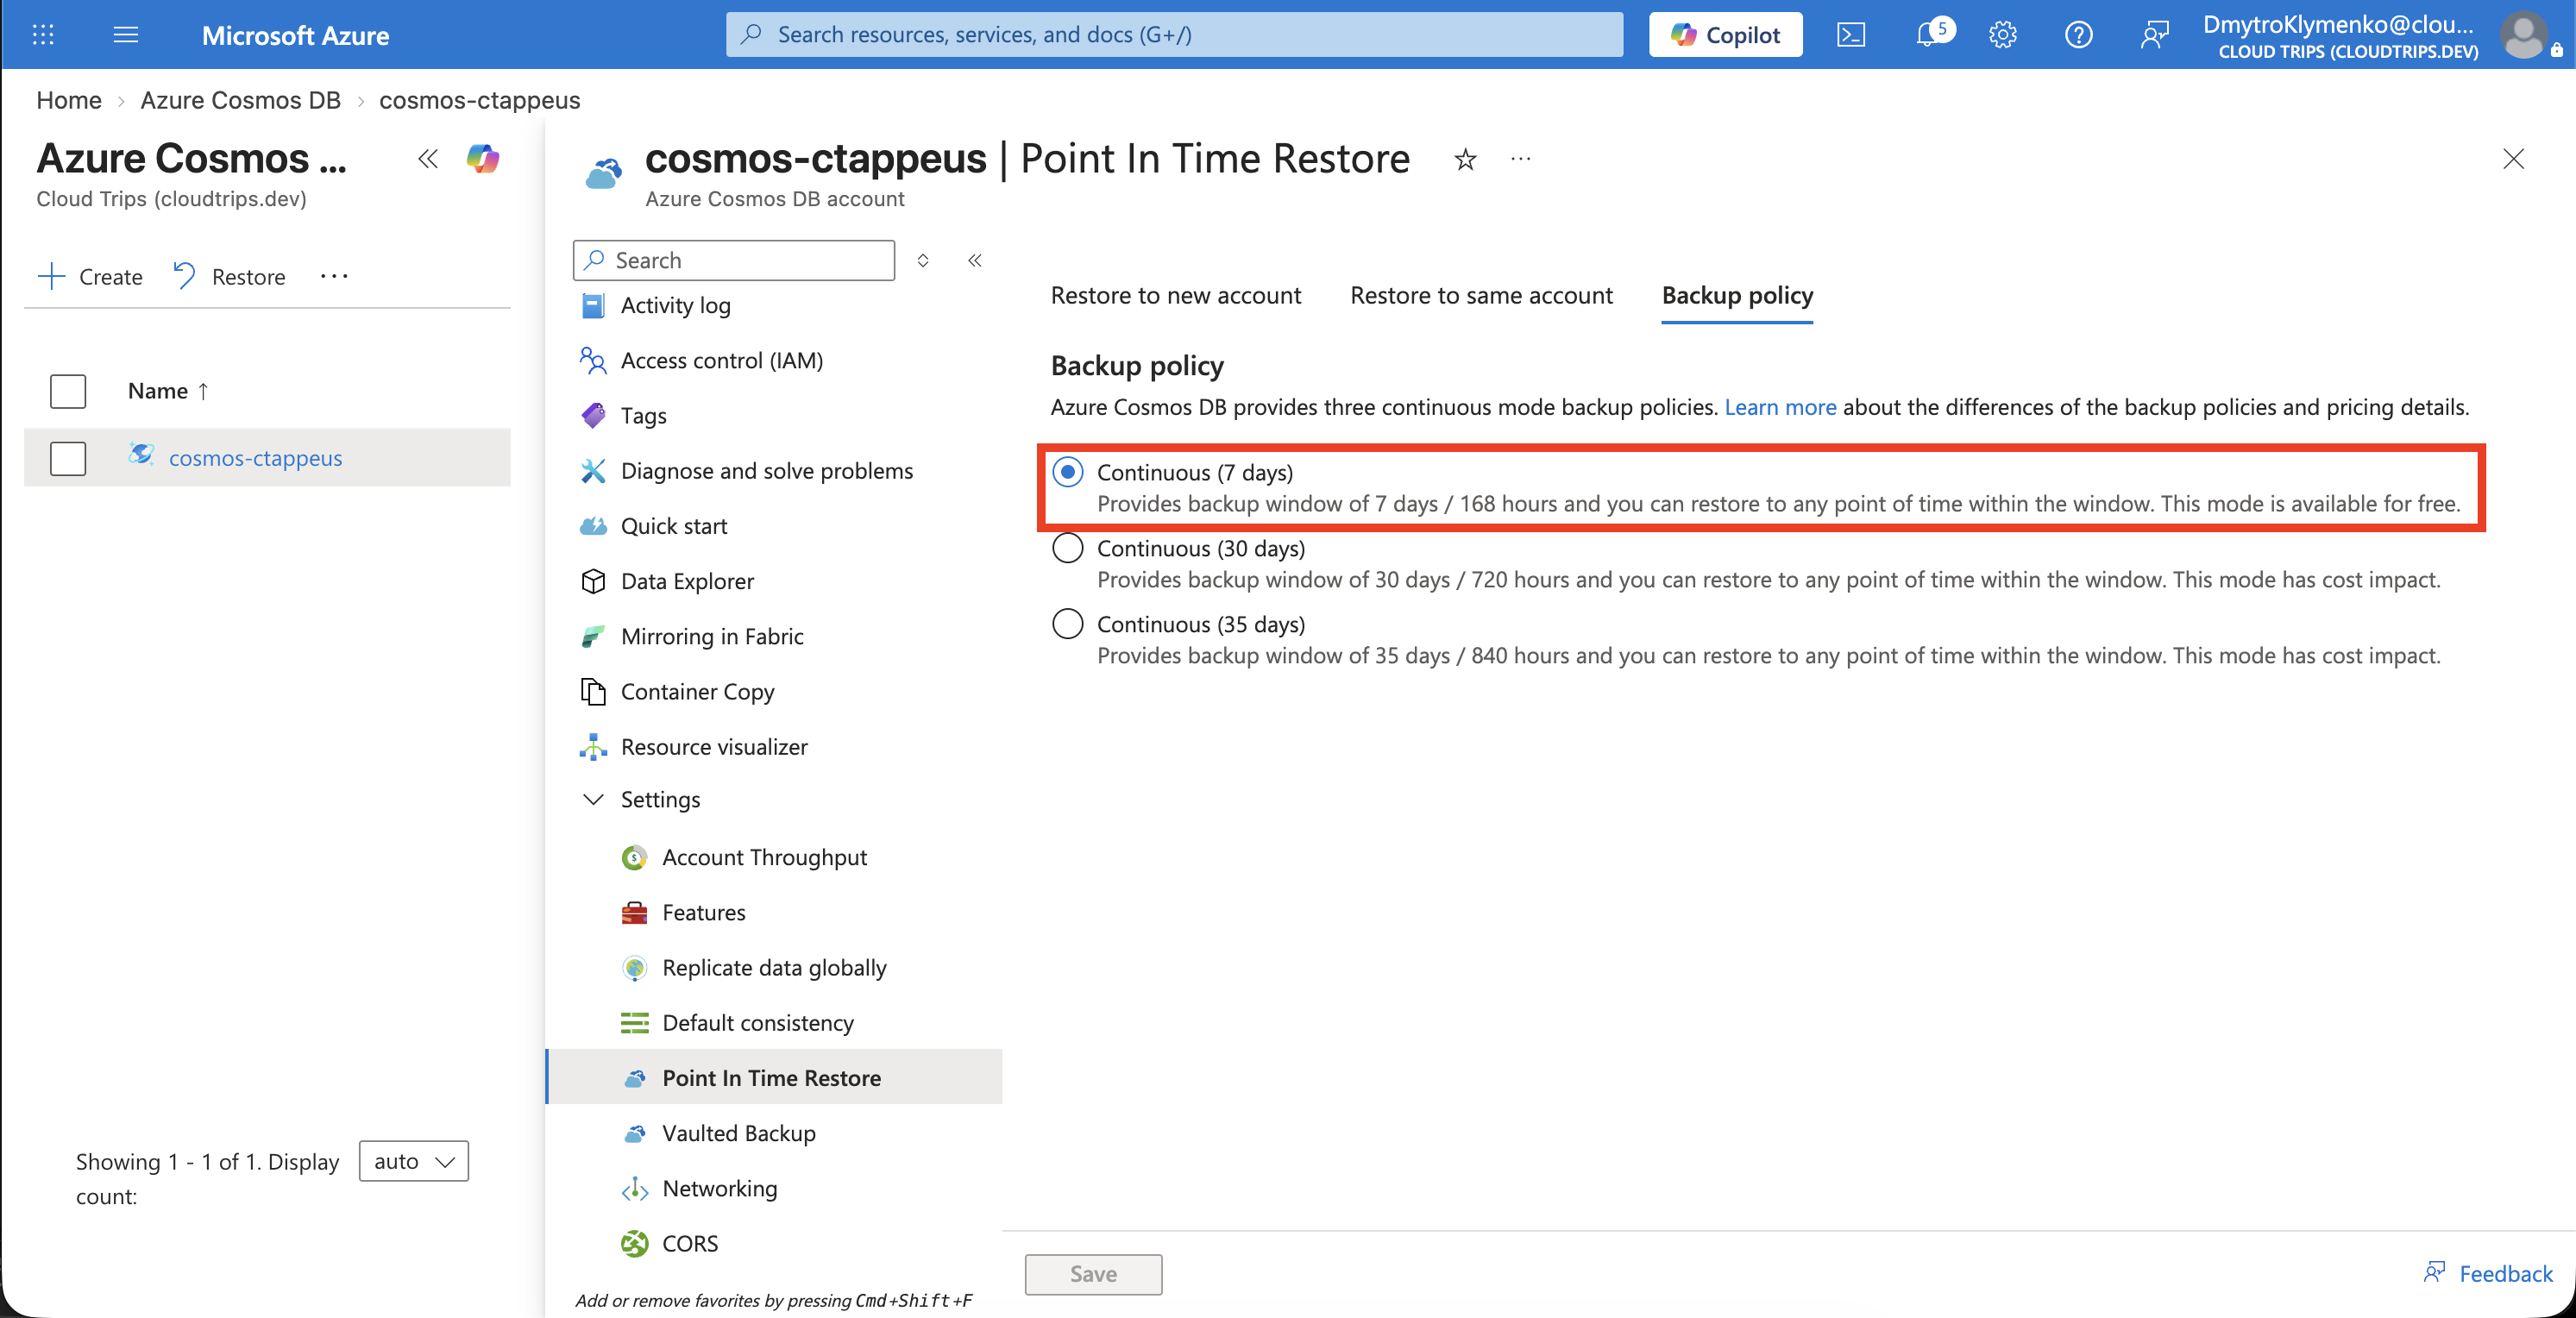
Check the saved policy is Continuous (7 days) and any migration has completed. Seven days is the maximum retained history; a newly enabled policy builds that history over time.
Inspect the Restore Window
Open Point In Time Restore. Restore to same account recovers a deleted database or container in its original account. Restore to new account creates a separate account containing the selected data at an earlier time, useful for recovering overwritten or deleted items in an existing container.
For this product-price scenario, choose Restore to new account. Check the available restore-time range and select West US 2 as the restore location where prompted. Choose a valid Restore Point (UTC) and inspect the database/container selection for appdb/products.
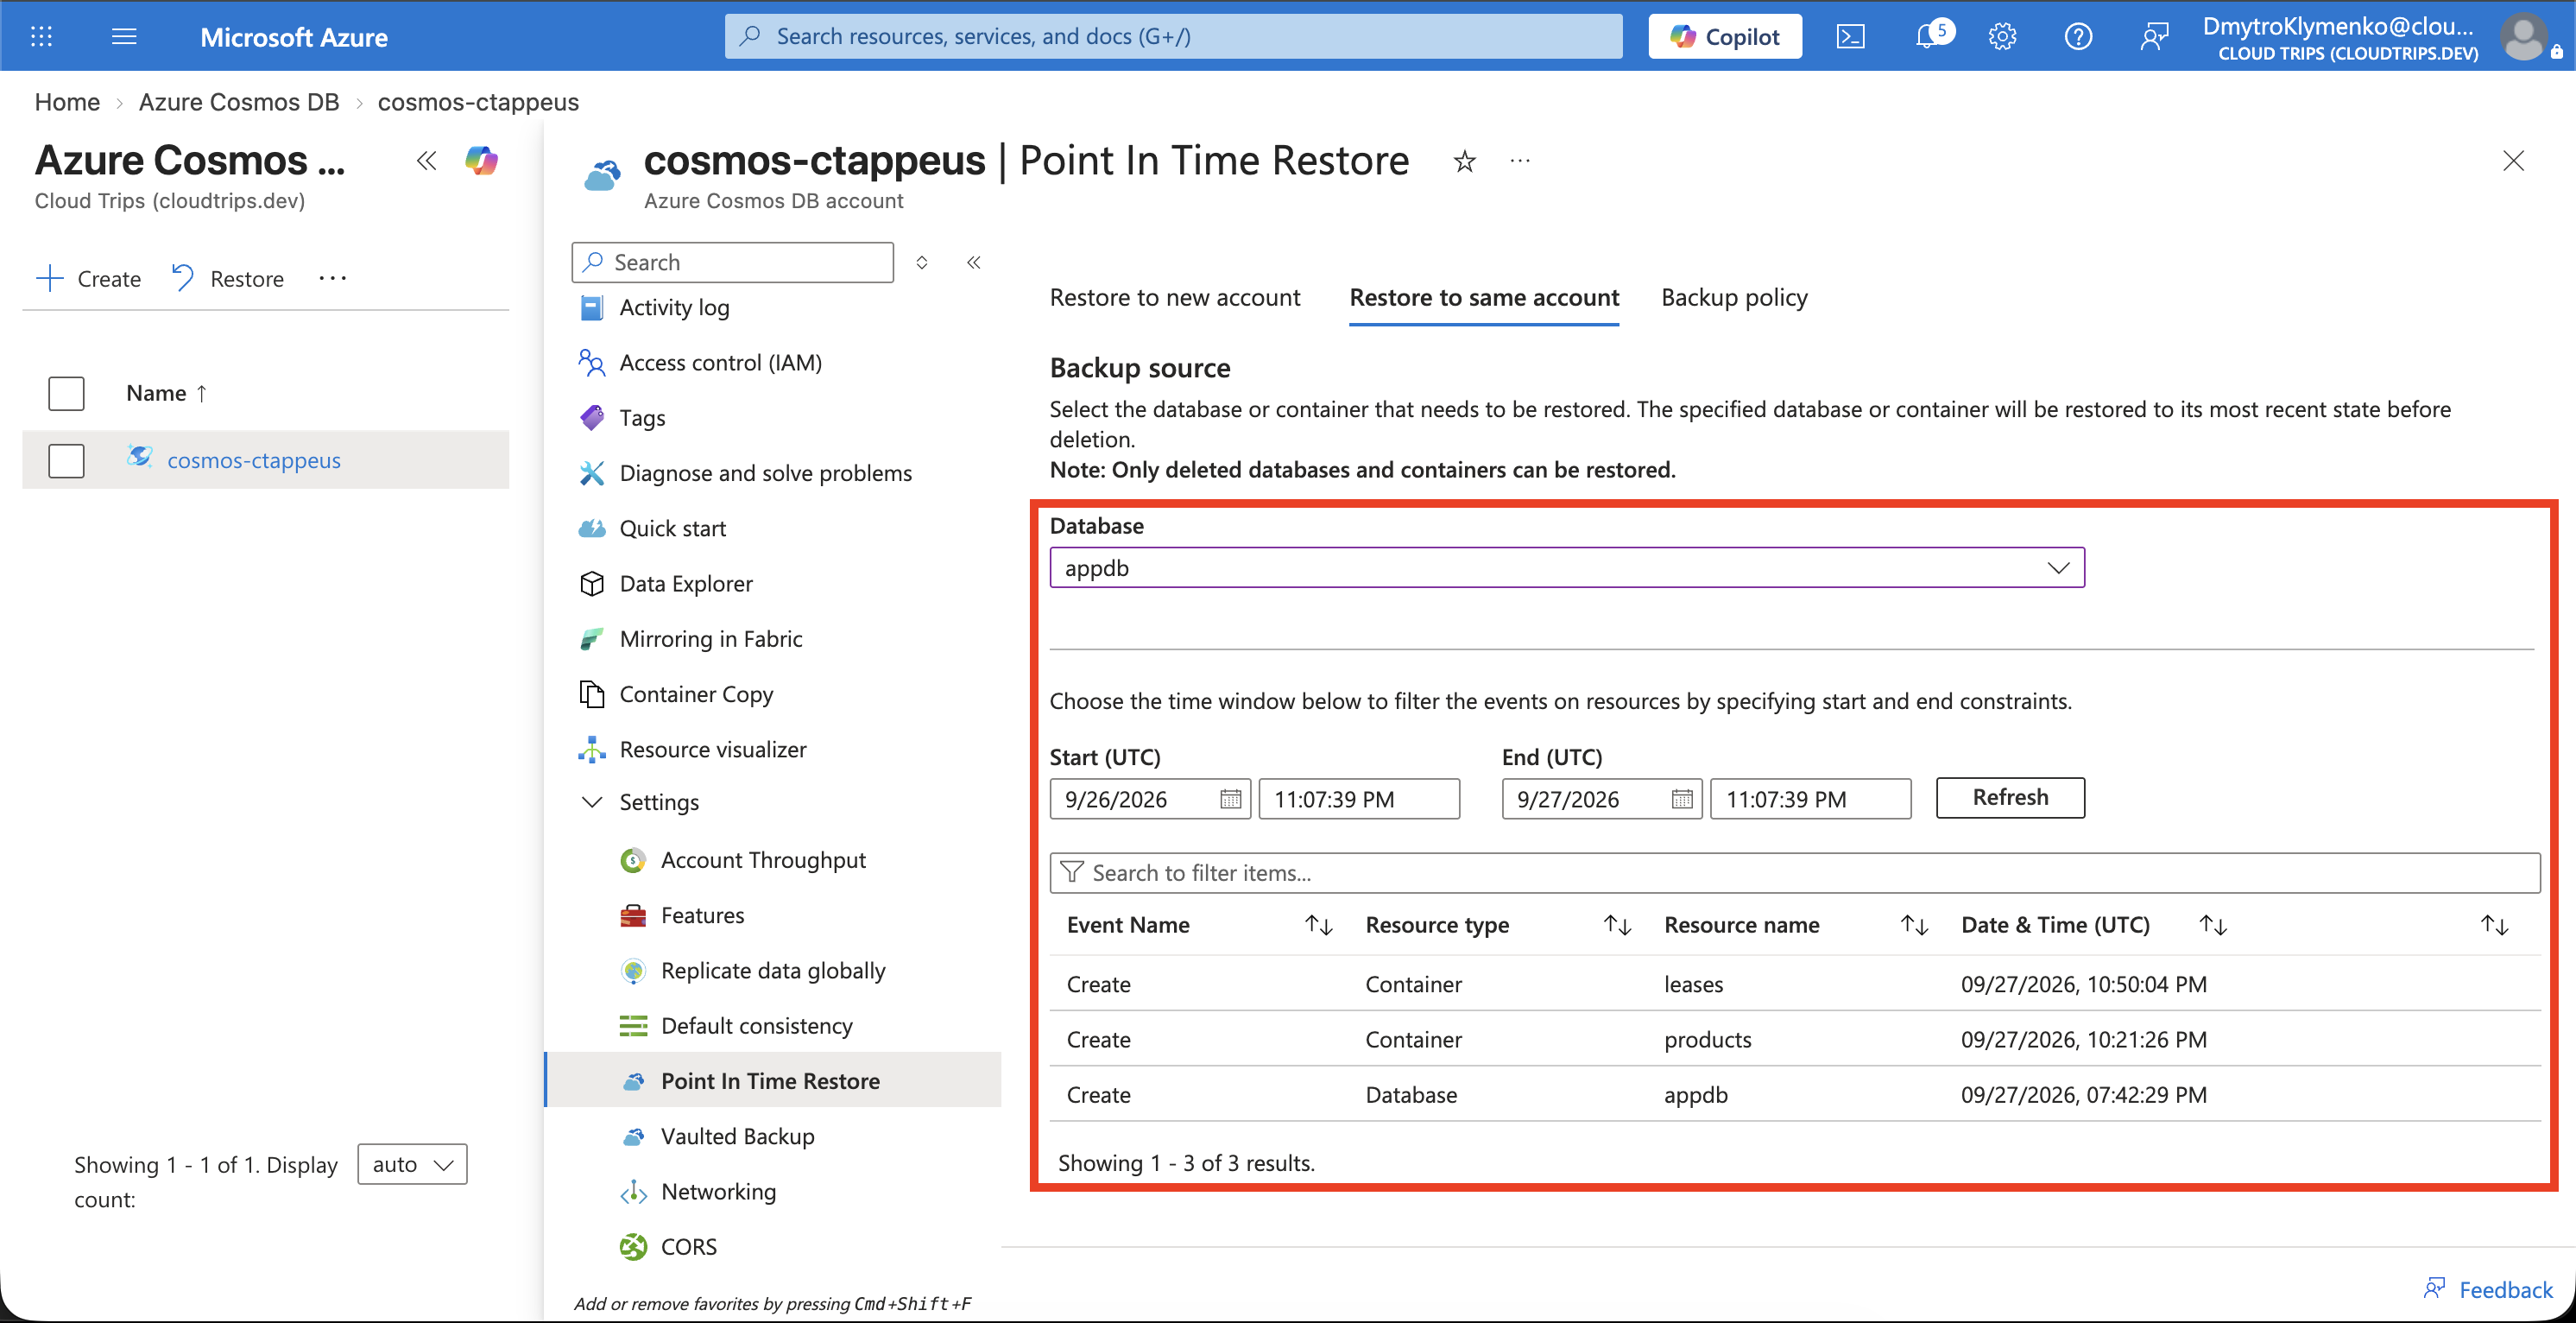
Check your selected UTC time lies within the available window and that the database and container existed then. After a real mistake, choose a time before the damaging write. If protection was just enabled, allow time for restore points to become available and refresh.
This verifies the configured policy and available recovery options. A full recovery test also restores the data and checks the recovered documents.
Finish
Keep the account and Continuous (7 days) enabled. Inspecting the restore form creates no additional database account; submitting a restore can create separately billed resources.